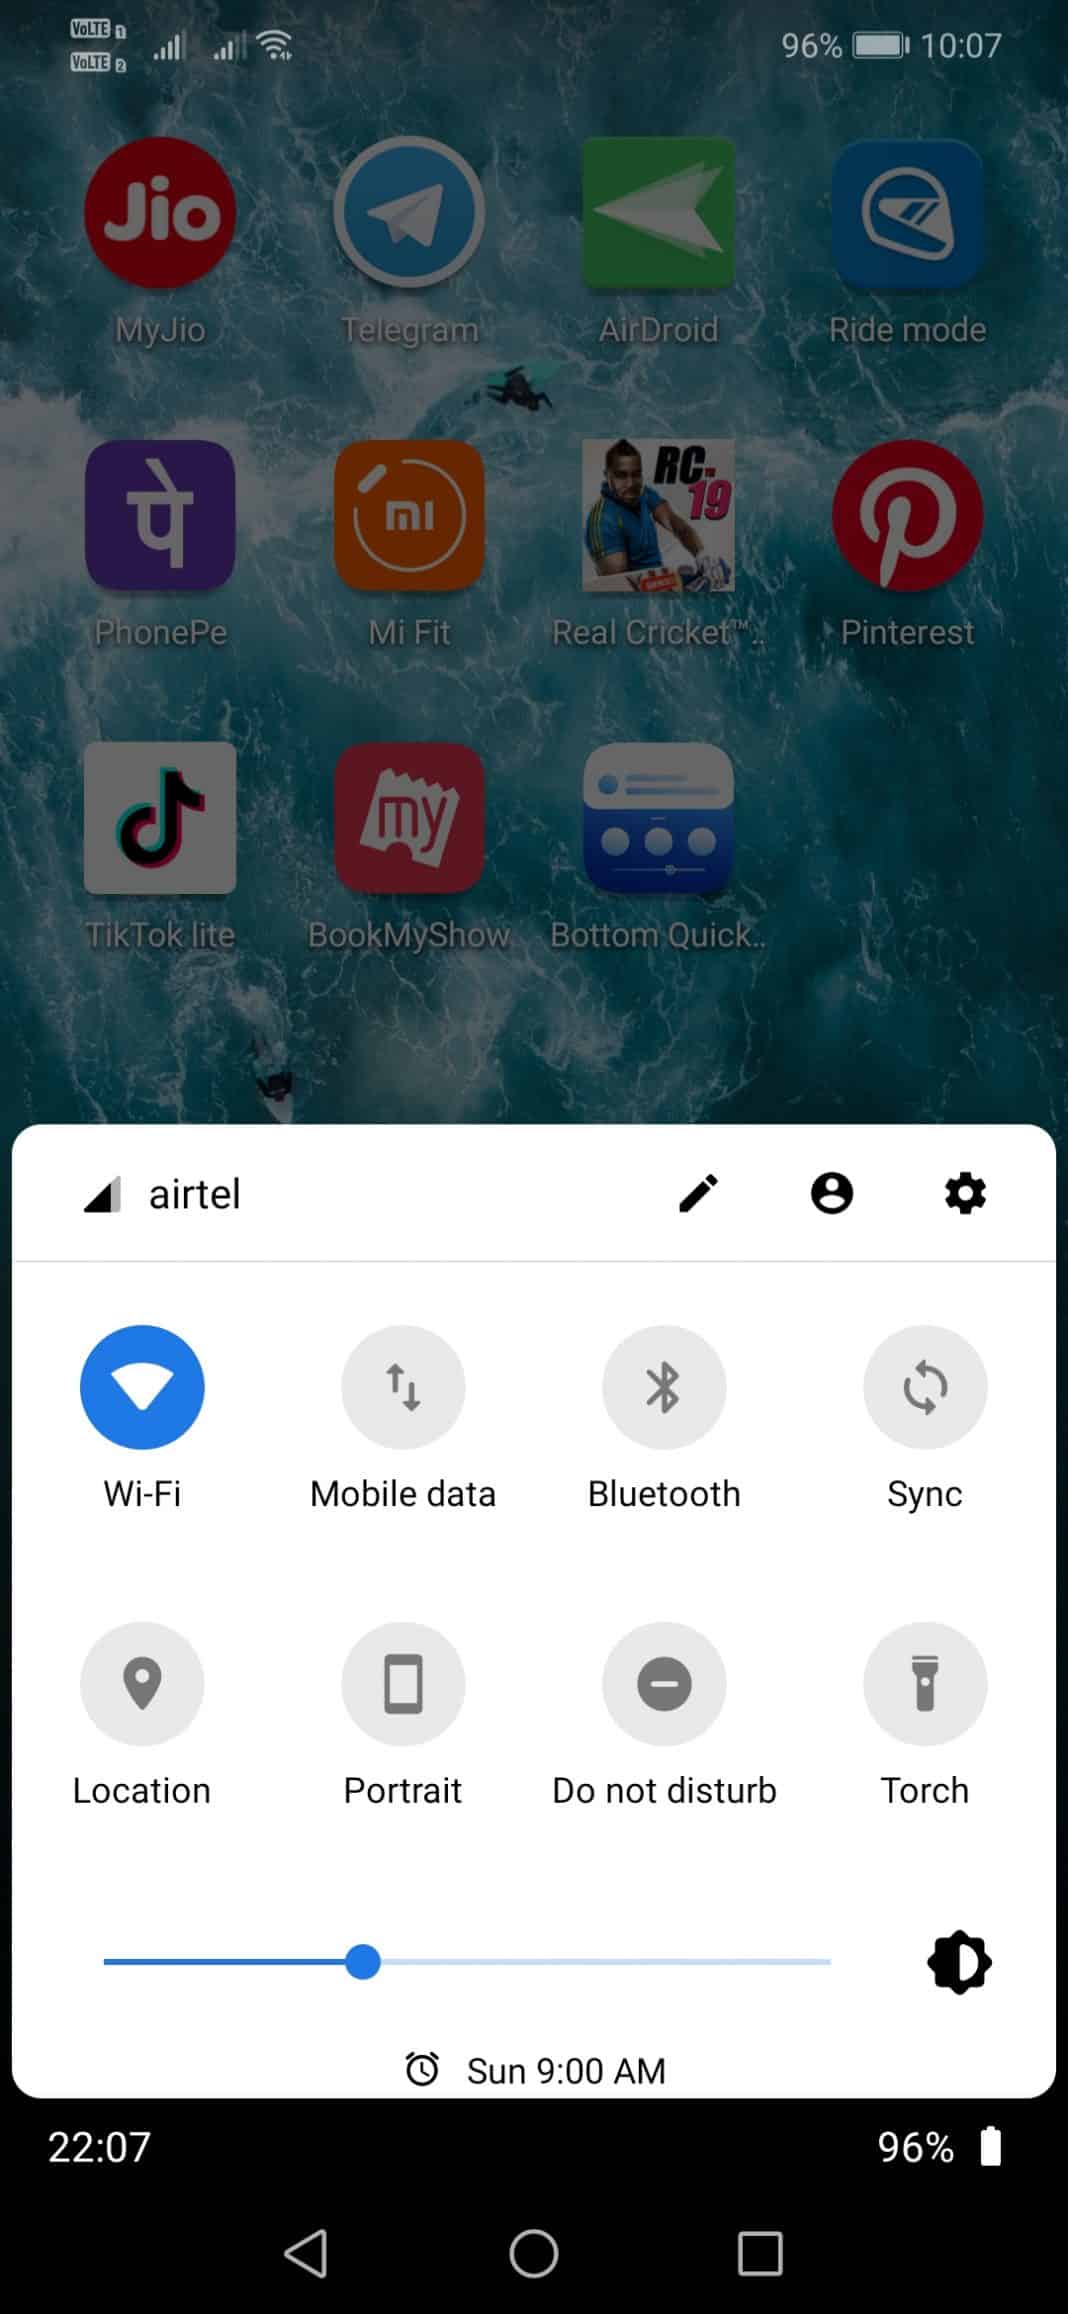
Since the one-handed mode is mostly used to reach out to the status bar or quick settings options, Android users can also choose to move the Android’s Quick settings to the bottom for Easier Access to the Swipe menu. These will also serve for the same purpose, but it will not ruin your Android experience. So, in this article, we are going to share a working method to move the Quick Setting menu to the bottom of the screen. With that, users need to swipe up to access the Quick Settings panel.
Move Android’s Quick Settings To The Bottom
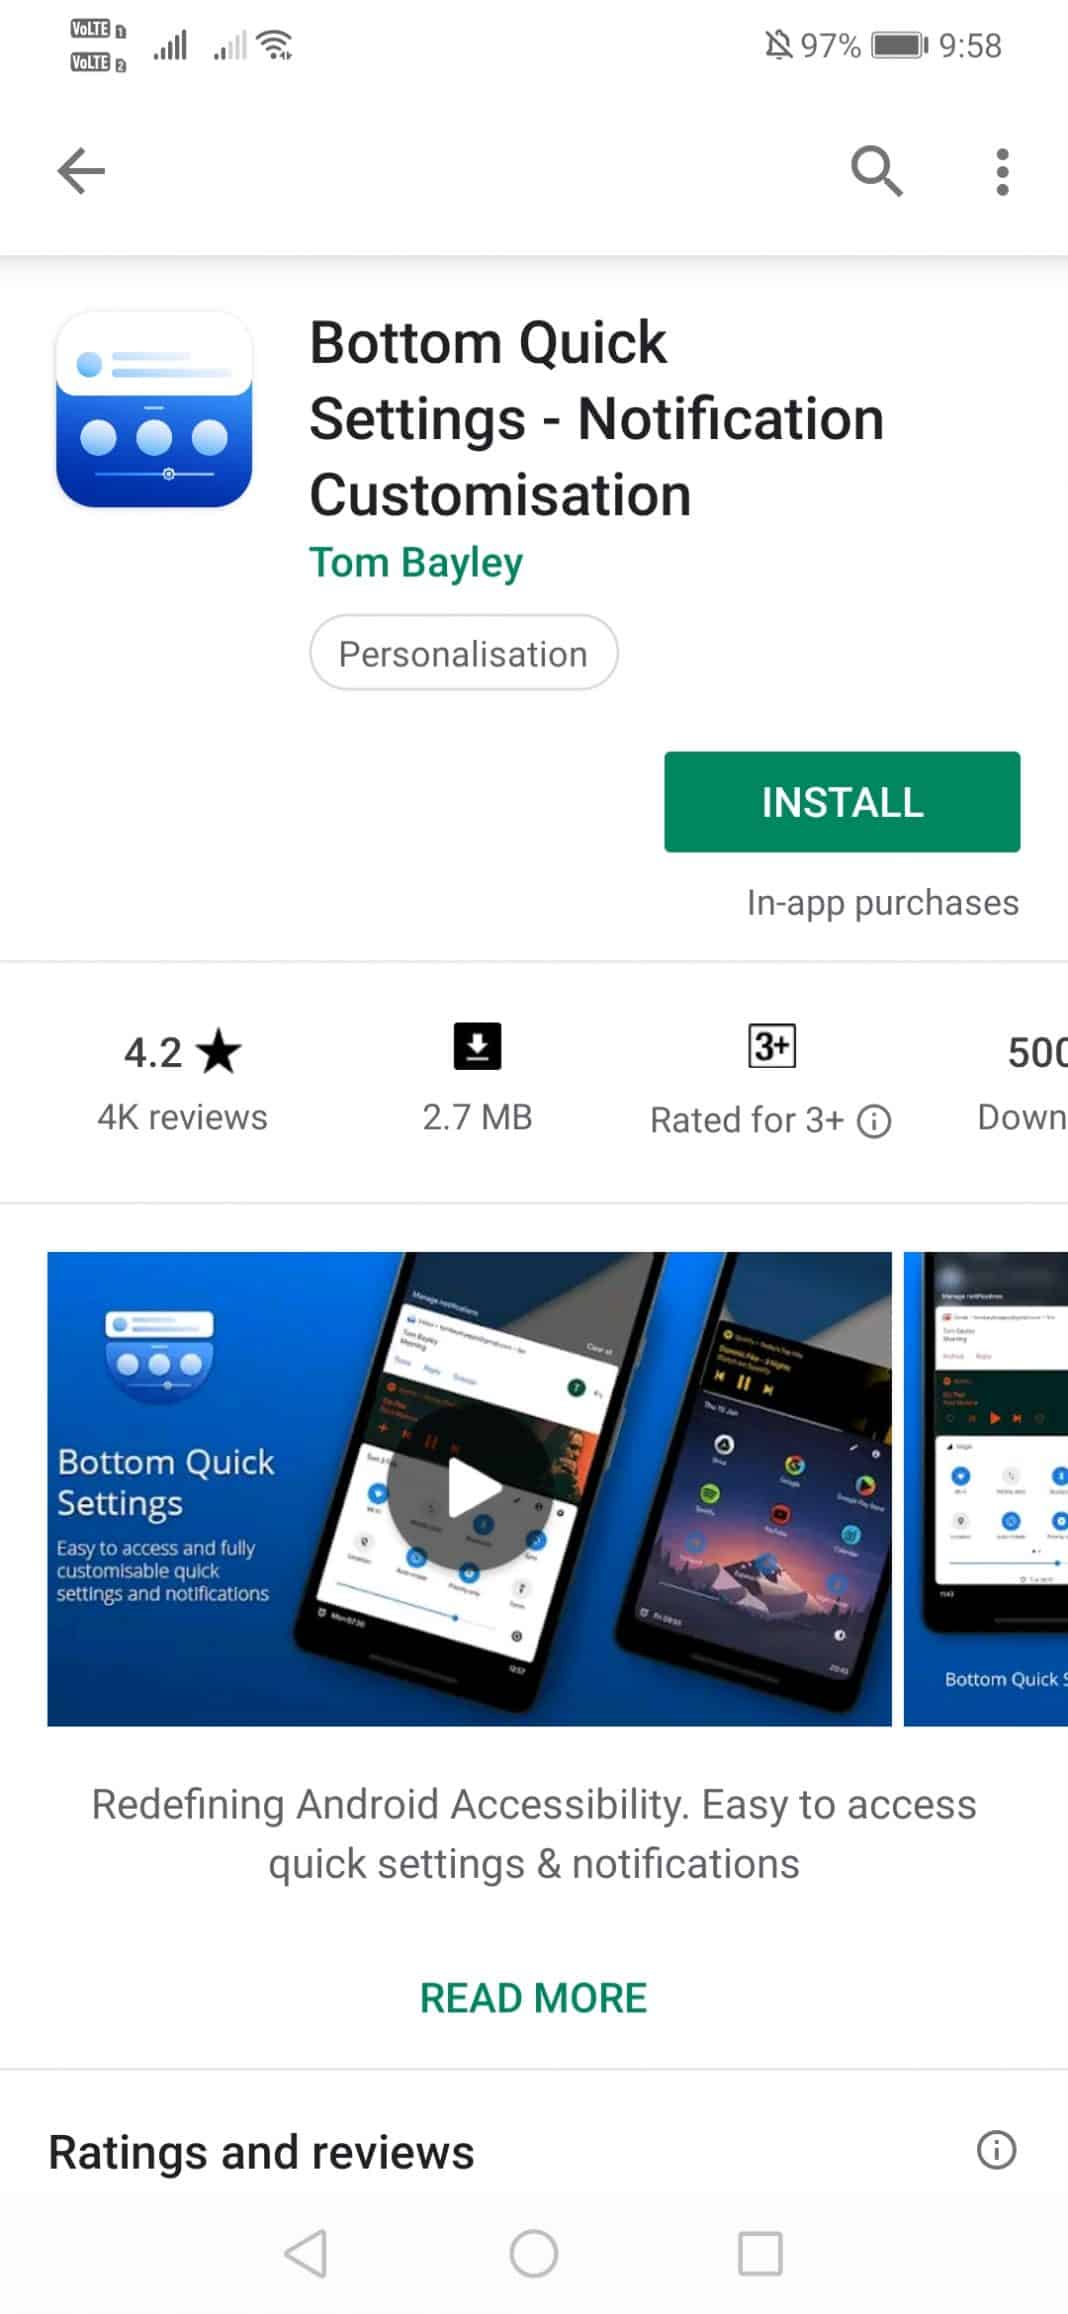
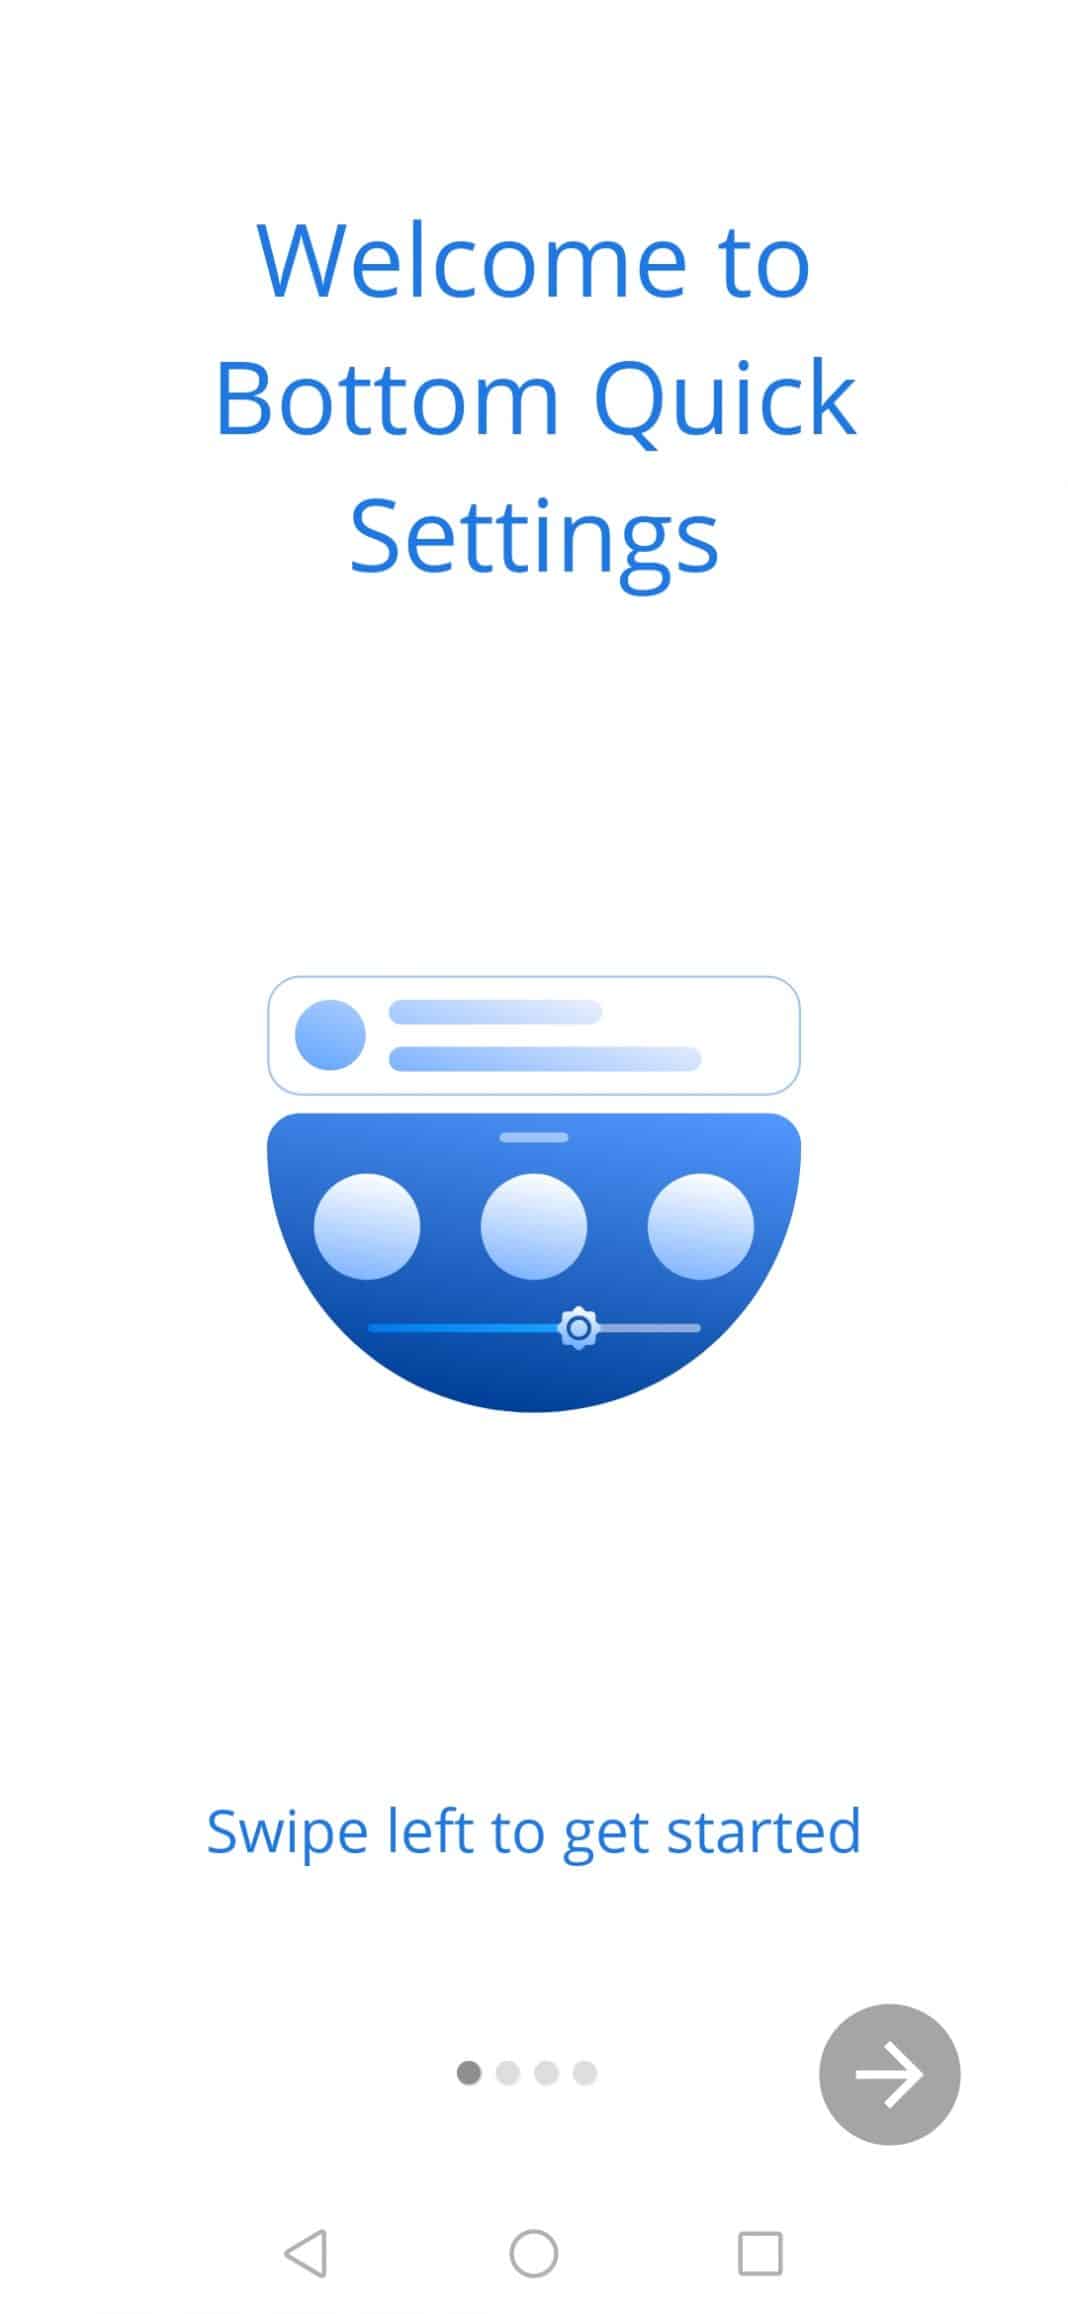
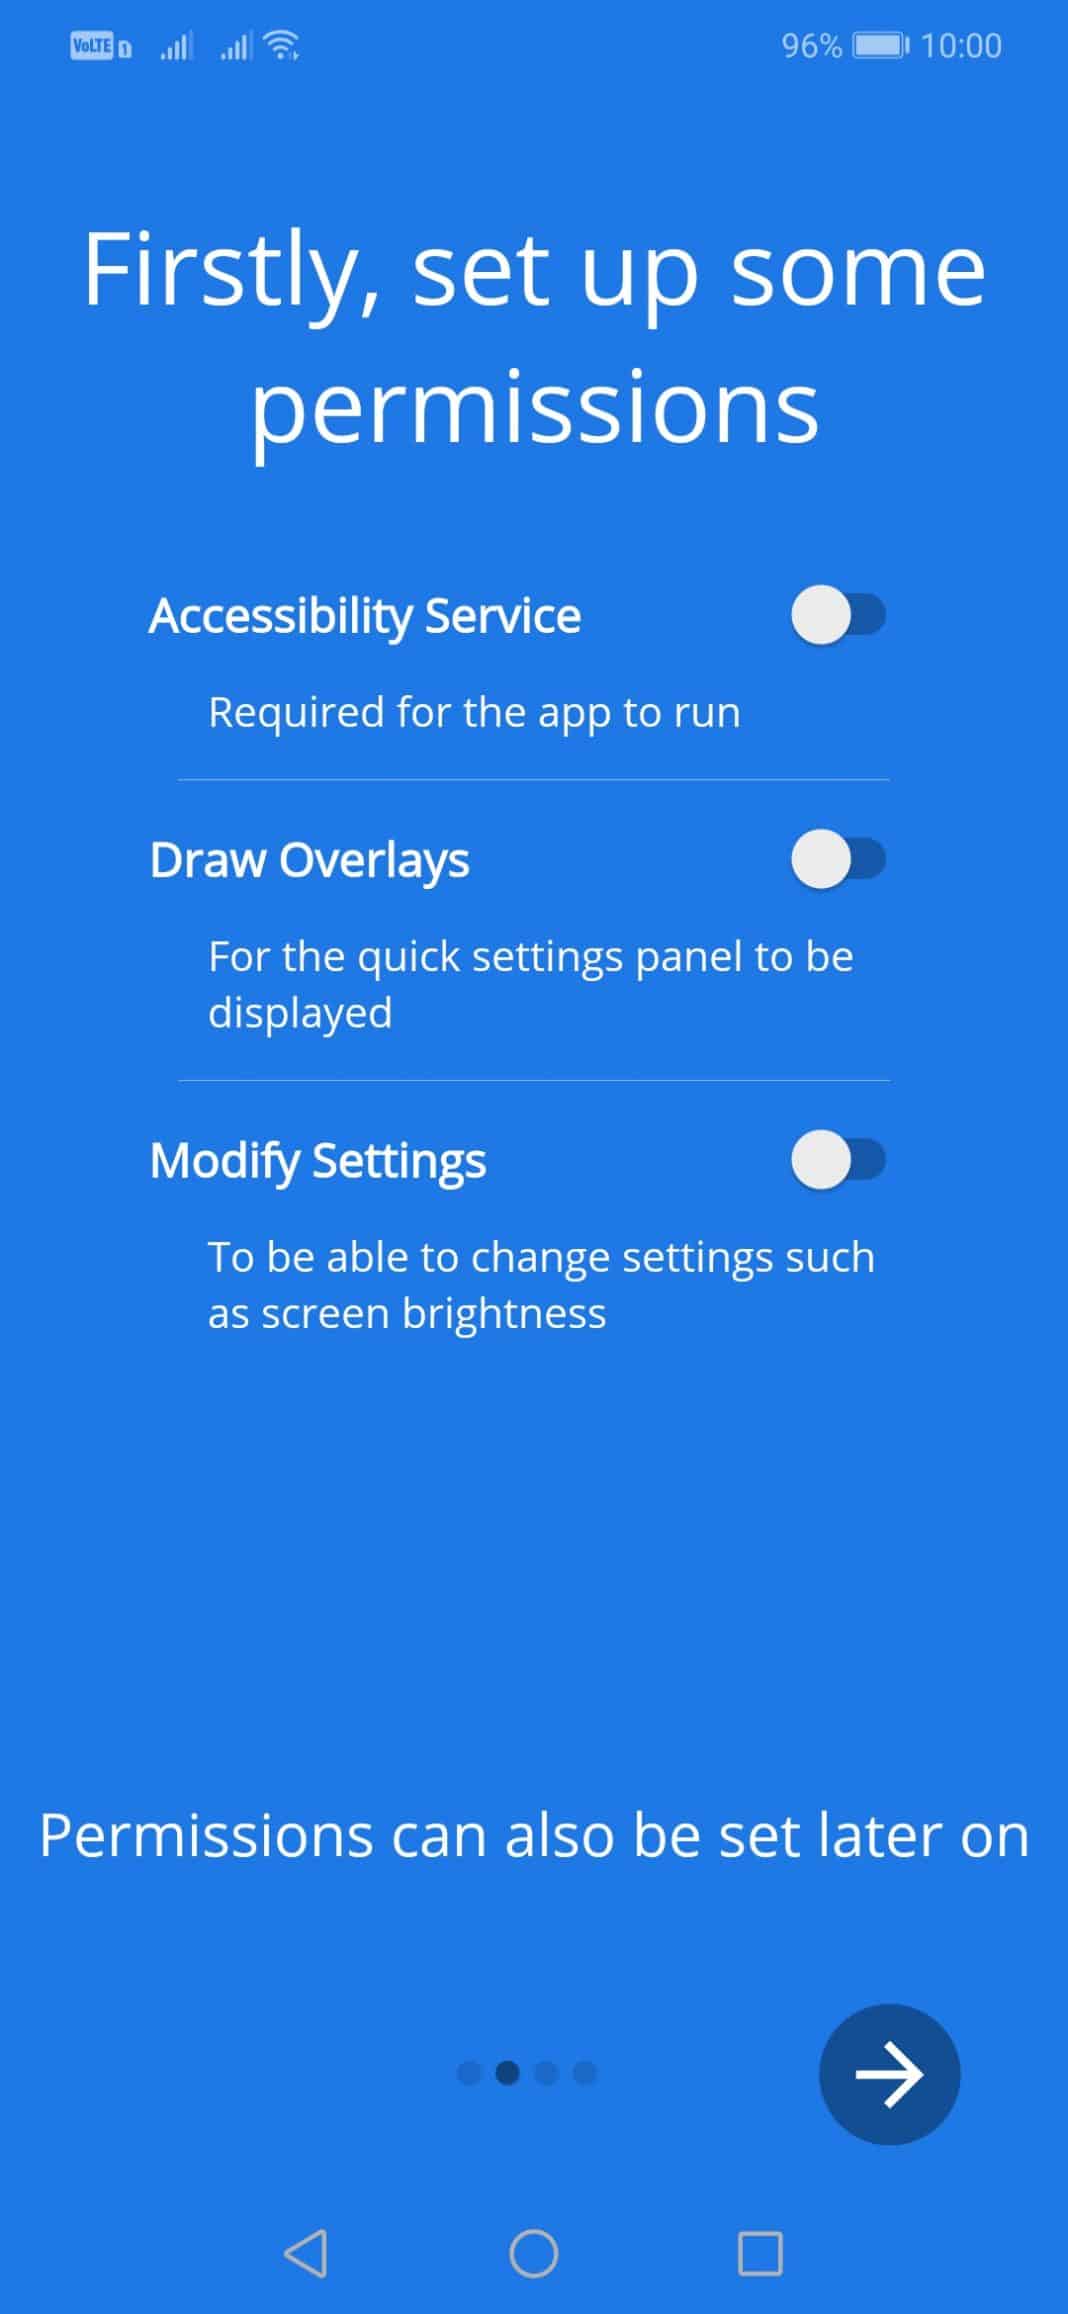
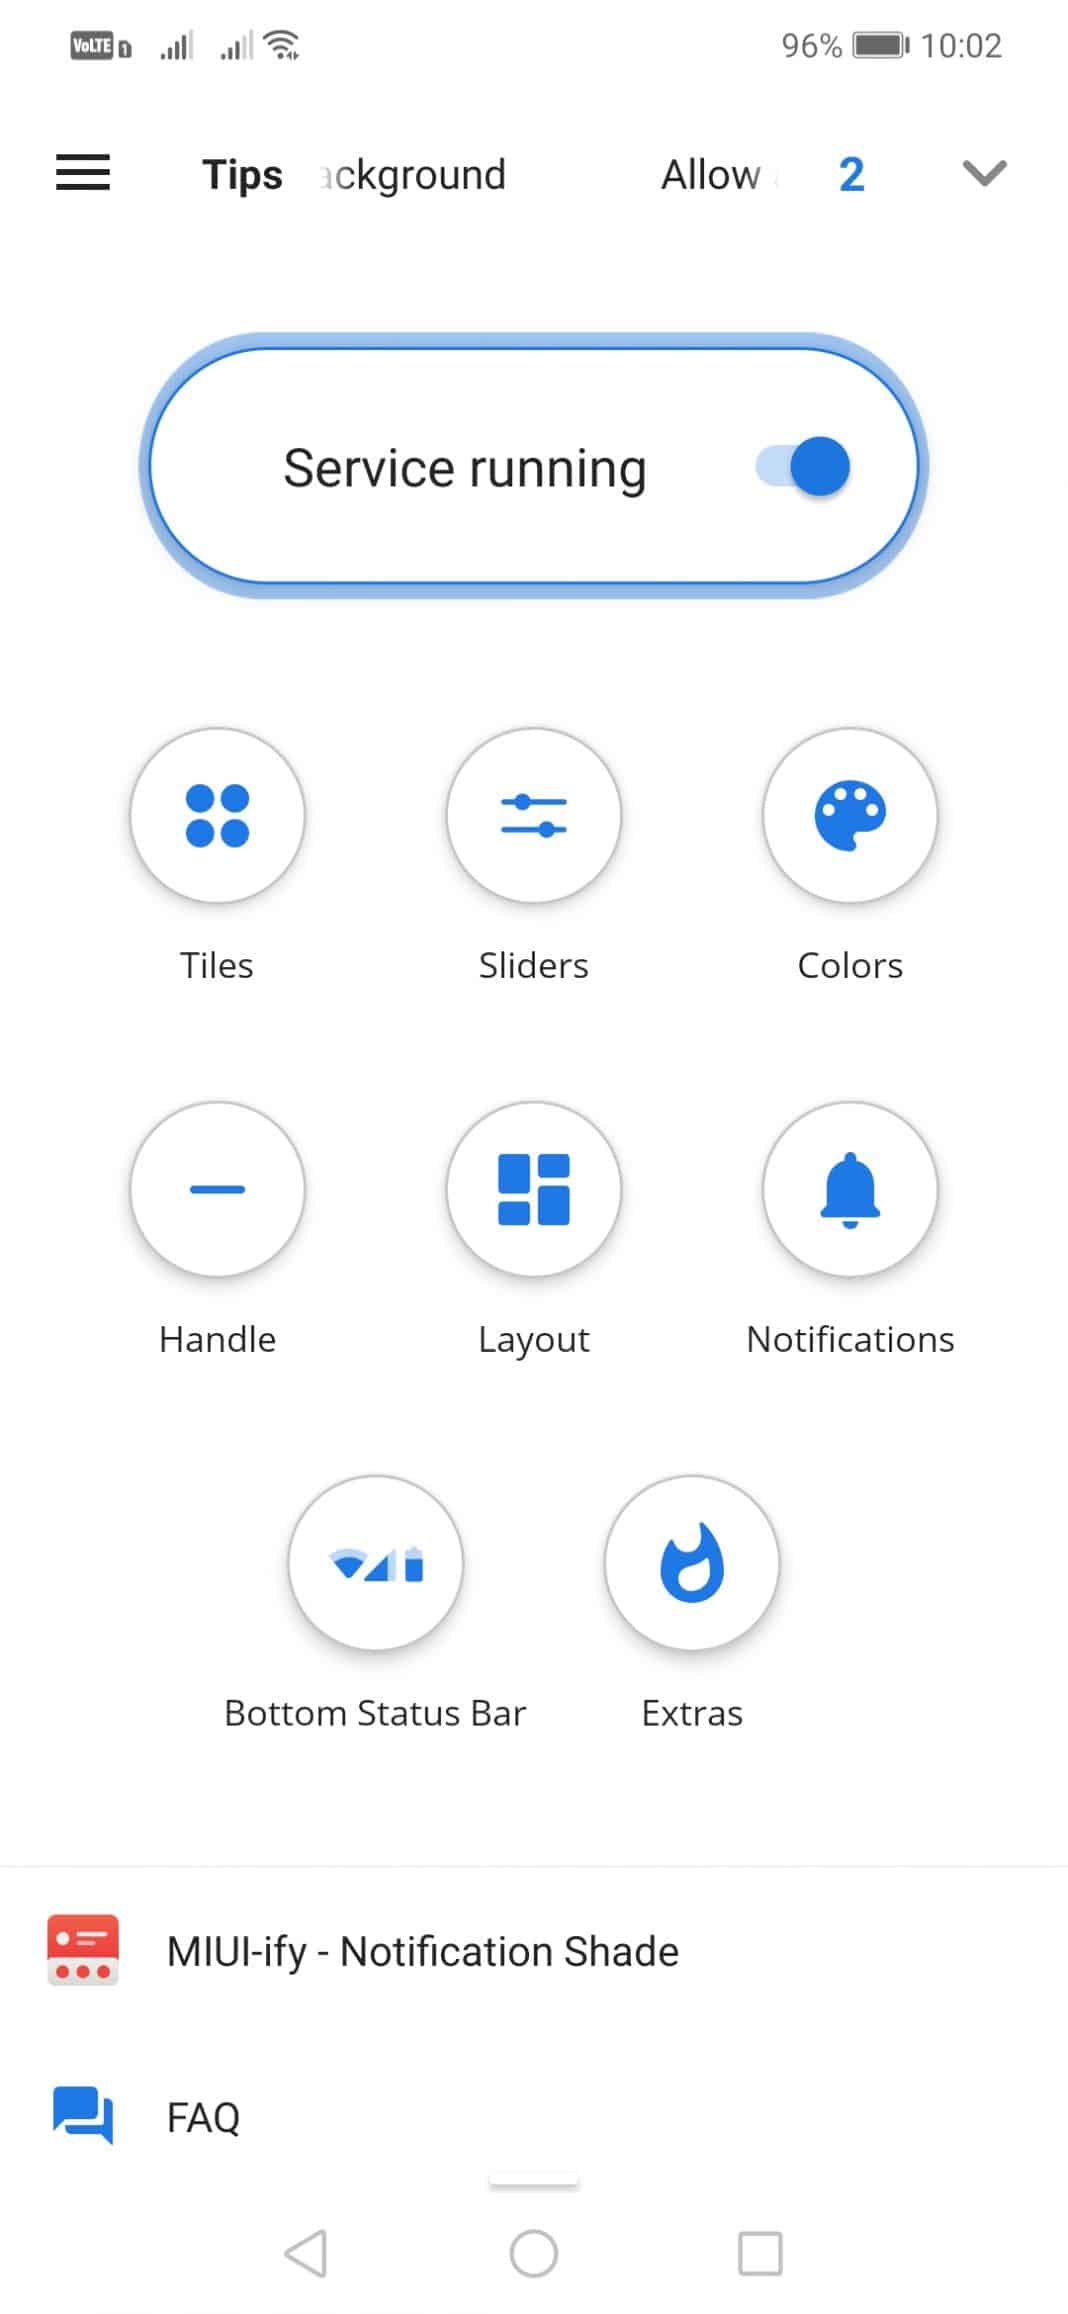
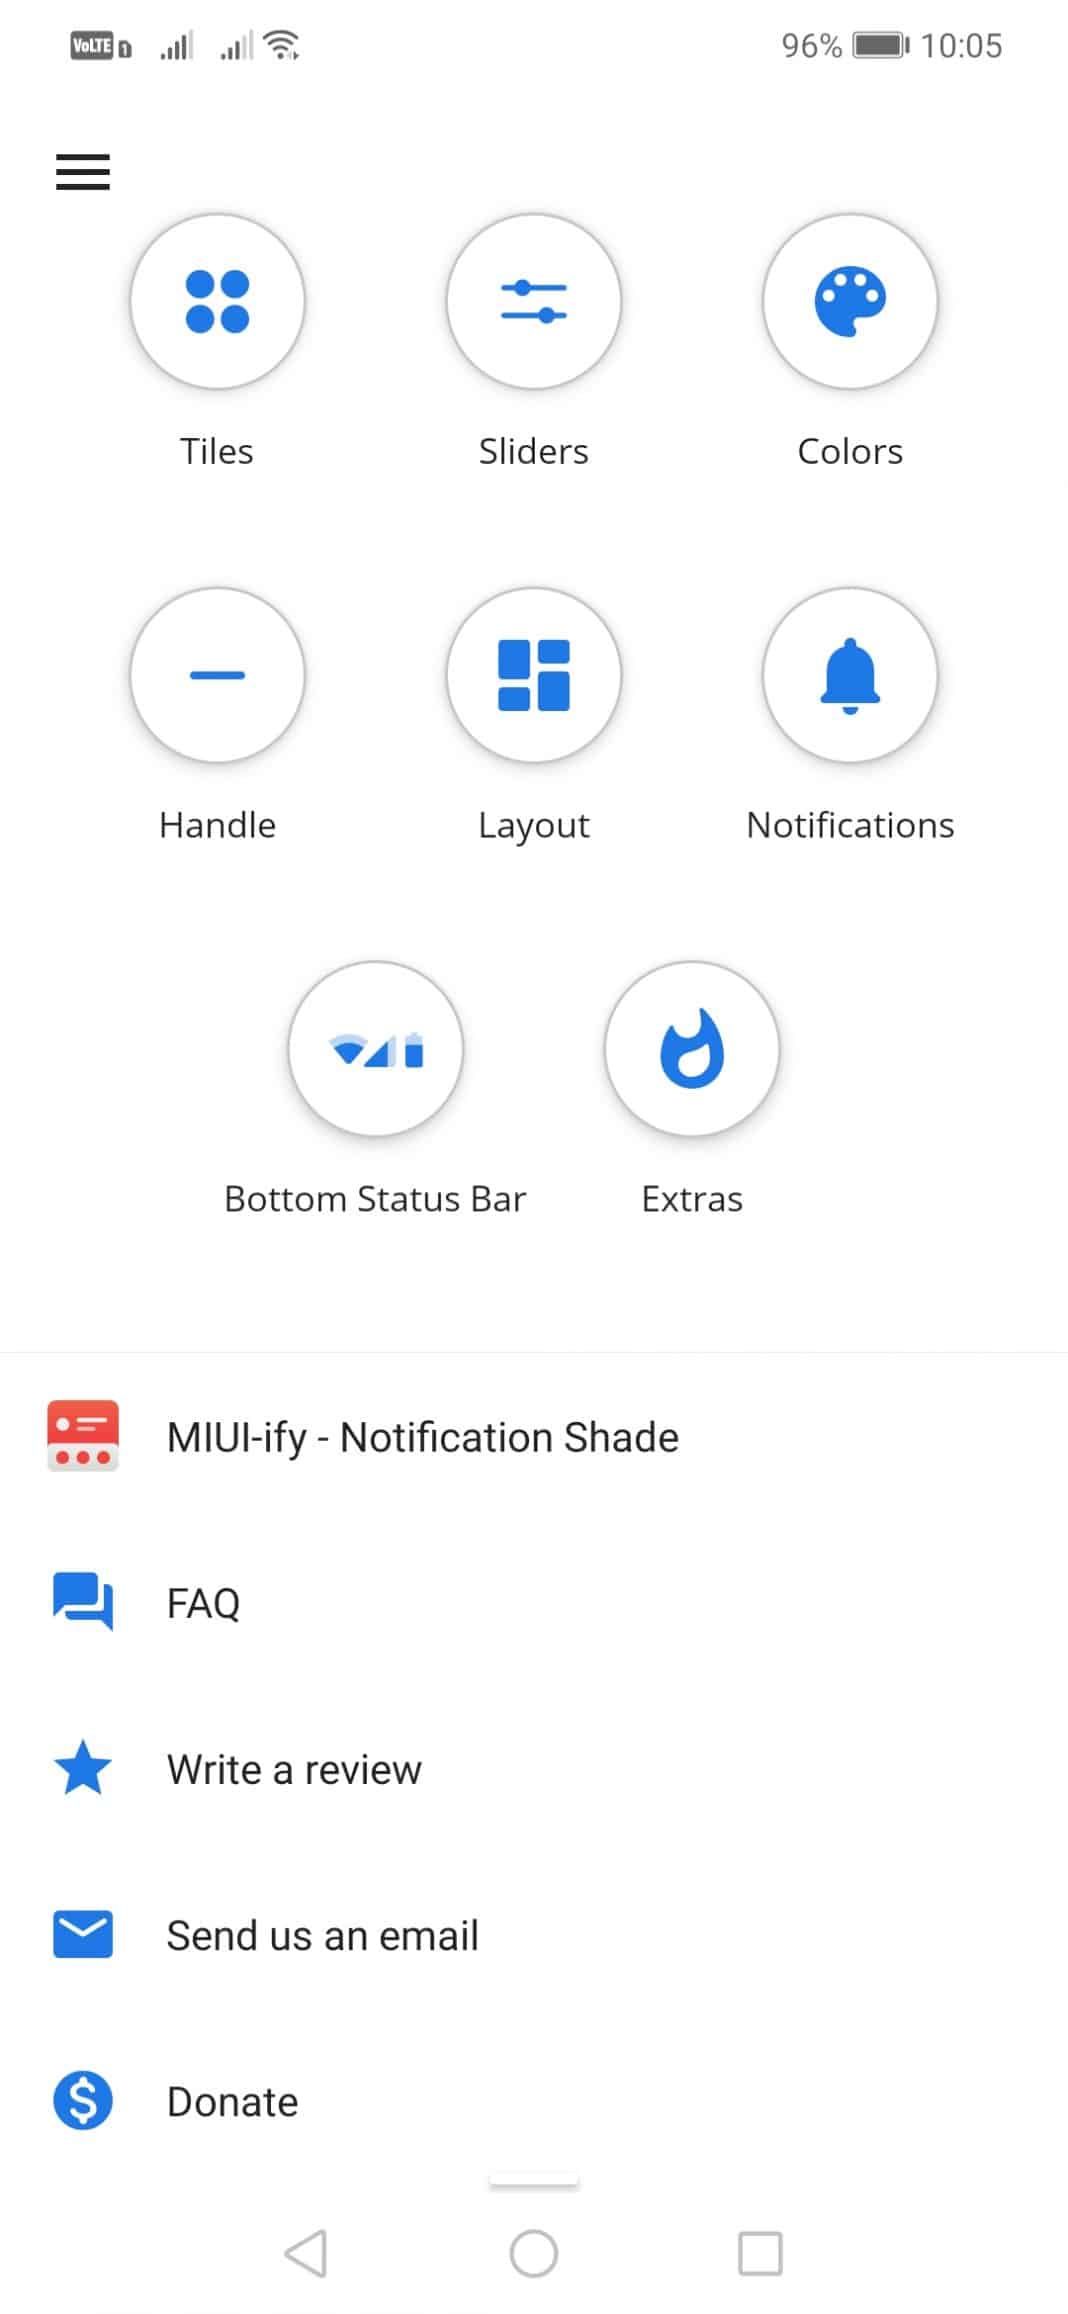
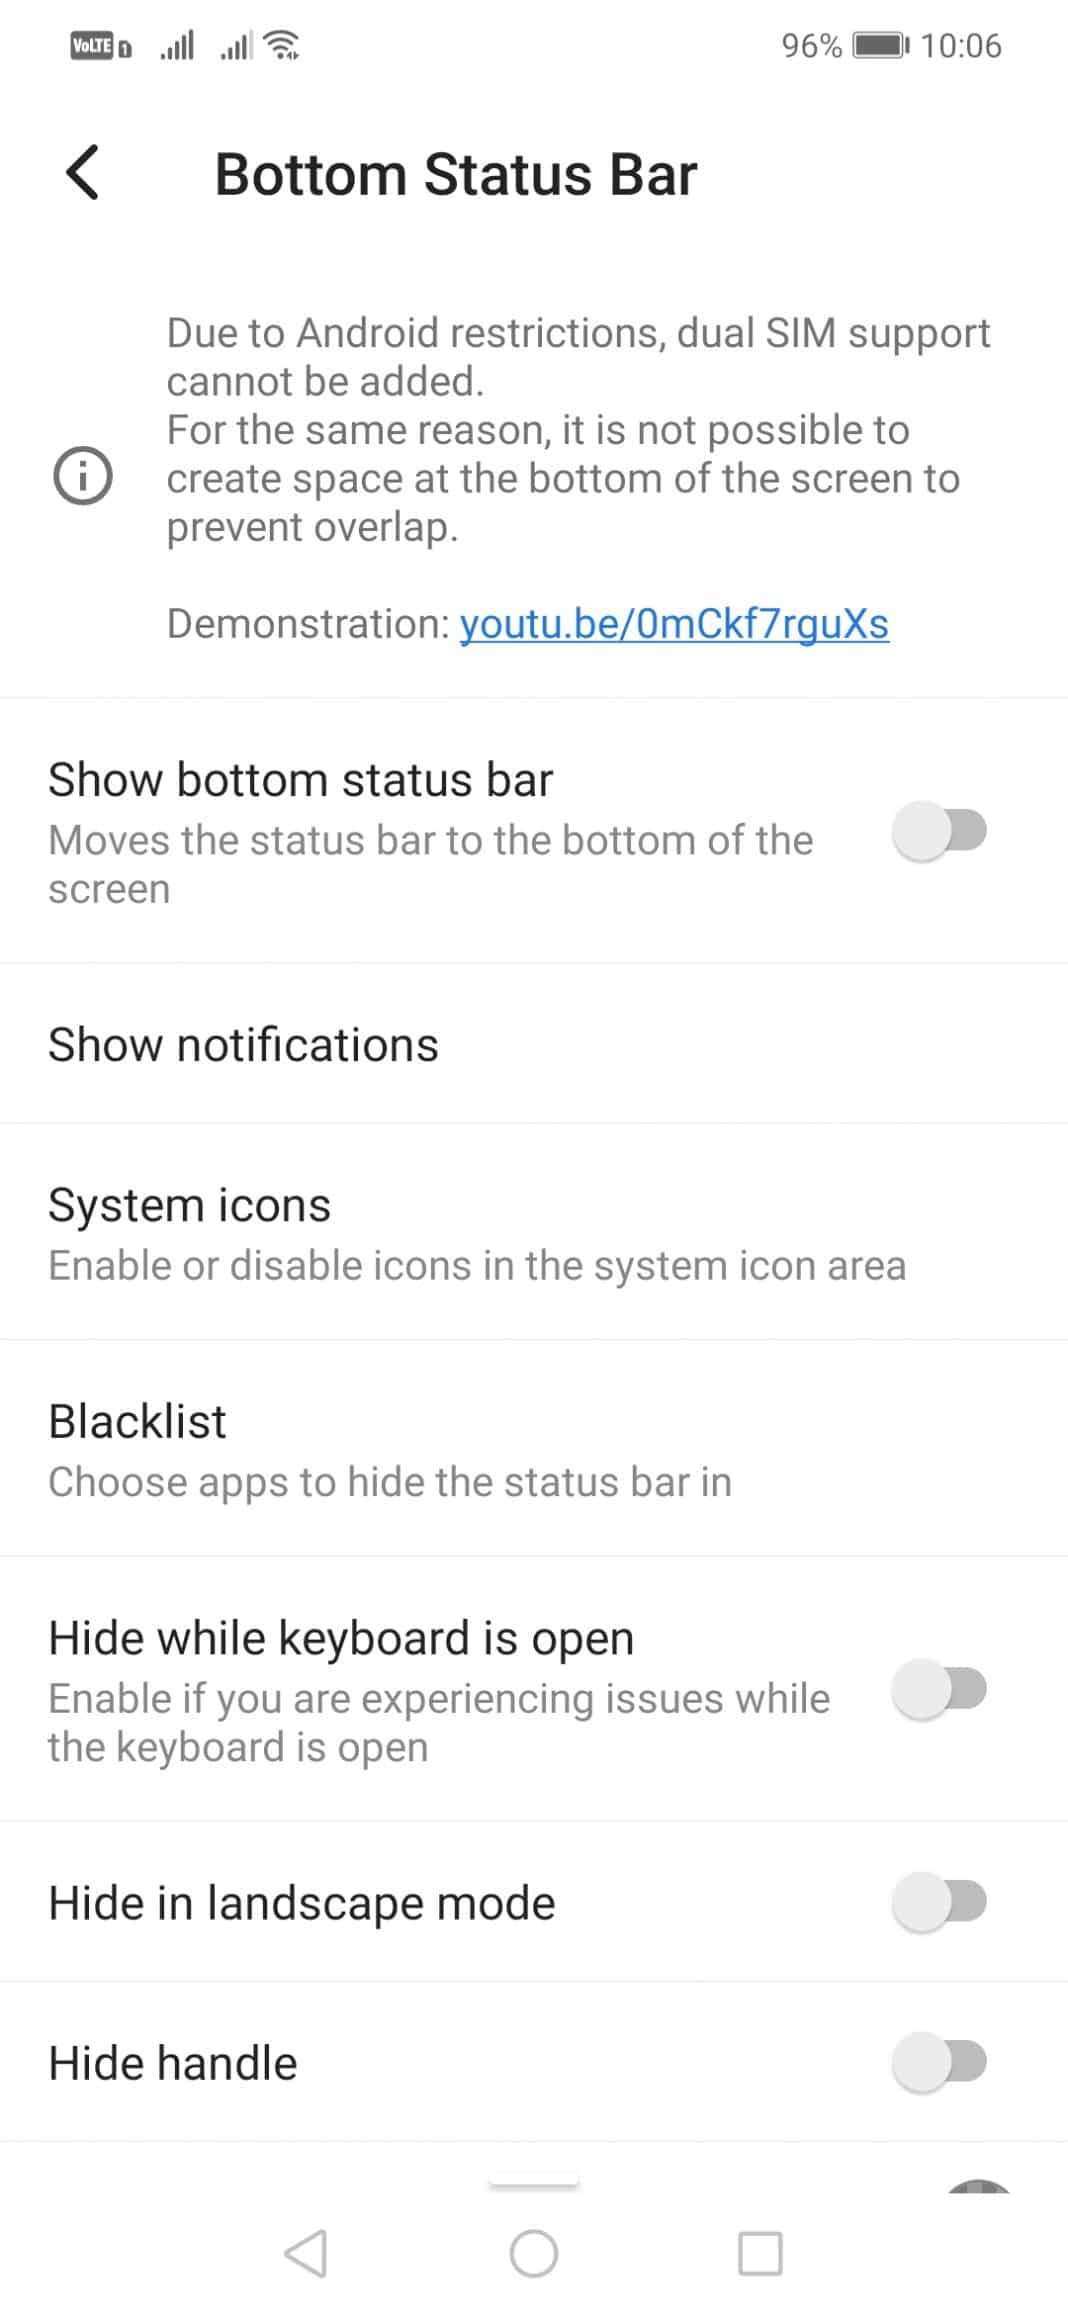
To move the Quick Setting and Notification panel at the bottom of your screen, Android users need to use the app Bottom Quick Settings. Bottom Quick Settings is a free Android app available on the Google Play Store that provides a smooth, fast, and native feeling Android styled quick settings panel at the bottom. Here’s how to use Bottom Quick Settings on Android. Step 1. First of all, download & install Bottom Quick Settings on your Android smartphone from here. Step 2. Once done, open the app and then tap on the ‘Arrow‘ button to reach the homepage. Step 3. Next, you will be asked to grant three permissions. Simply grant all permissions to use the app. Step 4. Now you will see the main interface of the app. Here you need to tap on Enable the Bottom Quick Setting service. Step 5. Now you will see various options over there like Tiles, Sliders, Colors, etc. You can customize everything as per your need. Step 6. You can also choose to show the ‘Bottom Status Bar’ option. Step 7. After making all customizations, head to the home screen and swipe up from the bottom. You will see a new notification panel. That’s it, you are done! This is how you can move Android’s Quick Setting & Notification Panel At the Bottom of your screen. So, this article is all about how to move Android’s Quick Settings to the Bottom. I hope this article helped you! Please share it with your friends also.
